OUR WEB DESIGN PROCESS
Much of our team has already covered our philosophy on websites and things surrounding it. In short… we think it’s pretty important. And it’s crucial that it’s addressing your specific needs. I’ll dive into our web design process and how we achieve that through our popular Ashland Theme.
DESIGN KICKOFF

I’ve beaten this concept into submission with good reason, but all projects start with discussing the “WHY?”, which we call the “Design Kickoff” in our web design process. All major stakeholders will spend our time setting design goals and establishing brand use among other things, which then produces a style board, like you see above.
The board keeps the whole team on the right track, establishing “WHAT?” we will actually be building and obviously the aforementioned Why? we’re building it.
Learn About Our New Ads and Leads Program - TRIBUS Engage
It’s arguably the most important phase of the whole project because it gives focus in a place that is easy to go astray over weeks and months of work. I go over the importance of goals in depth here.
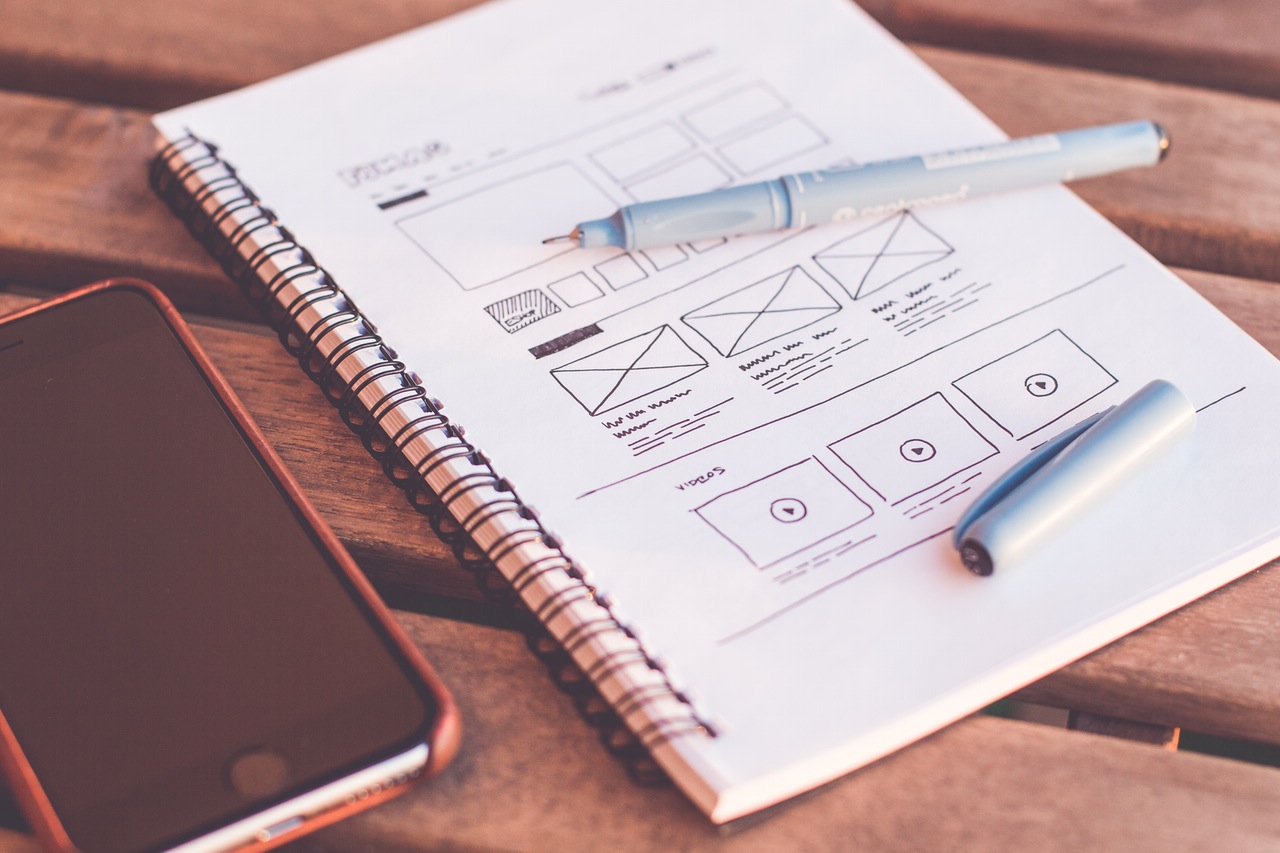
WIREFRAMING
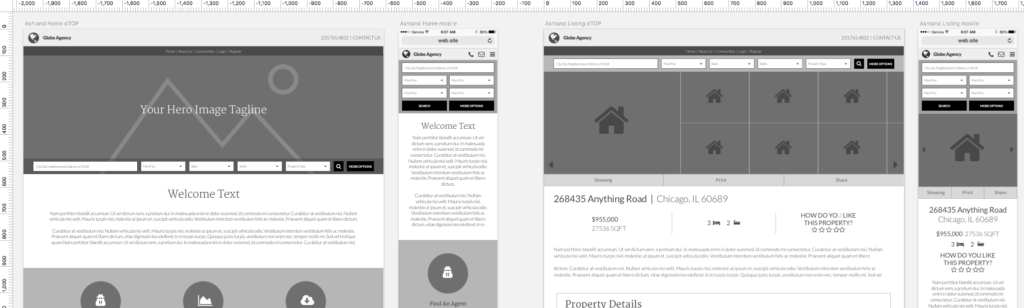
With goals and objectives we can implement “HOW?” we’re going to accomplish those things through the website. Collaborating with project managers and developers, designers will first sketch then wireframe key screens that have reusable elements across the site.
The wireframes are in grayscale to understand the types of content and it’s hierarchy of importance, again based on goals. Often the most important things are high up on the page and are much larger, but sometimes you can attach a specific color, but because it’s in grayscale color is represented by something darker than all the other elements.
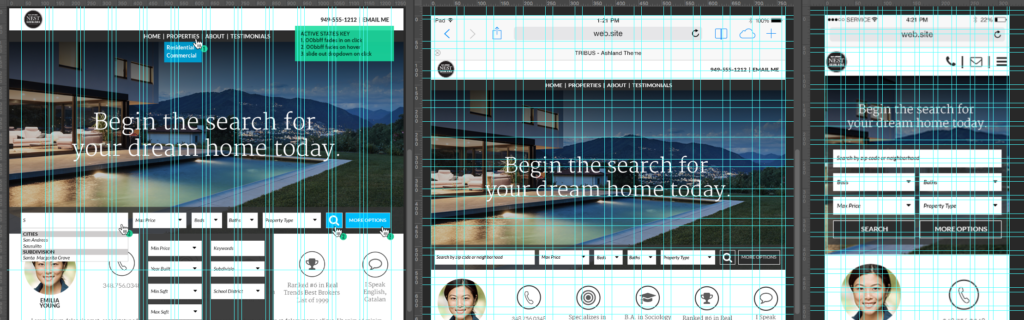
VISUAL DESIGN: The Home Page
Learn About Our New Ads and Leads Program - TRIBUS Engage
Now we enter into high-fidelity mockups that closely resemble what will ultimately end up being the final site. From here we’ll use real colors, image and content when we can. It’s always important to use real world content as it prepares for sizes and shapes that a specific client will work with now and in the future.
We start with only the home page, where we can establish site-wide things like the header/footer, listing previews, agent photos, blog photos, typography size and spacing. It’s important you only start with one page, because you don’t ever want to fall into the trap of designing a bunch of pages, only for 1, 2 or more pages to be “off.” Now you’ve wasted a bunch of time redoing pages you could have easily gotten right the first time.
VISUAL DESIGN: The Results Pages

Once the home page is approved, the web design process move a bit faster and we can do pages in bulk. We split them up by how the user would most organically encounter them, which would be a results page, which includes Agent, Community, Property, and Blog Results.
VISUAL DESIGN: The Details Pages
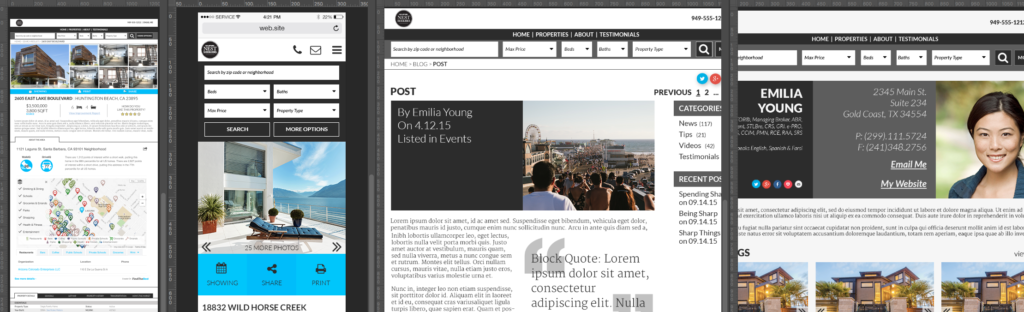
We’ve already wireframed some of the details pages, so unless we’ve discovered some beneficial changes (which is not unheard of), we’re really just applying a coat of paint here.
And that as a very abridged version of the bulk of our web design process, which left out many discussions about user interactions and numerous revisions, which I’ll go over in another post. Up to this point we have all we need to develop the final product.
Thanks for reading and if you want to check out the final product, visit BHHS Penfed Realty Texas and find more samples here.